
An offer is a price the client puts on one listing, with a date and a note. Offers live on the deal, grouped under the listing they are for, so every round of a negotiation stays in one place. Accepting an offer moves the deal to the next stage.
Before you start
- The deal is at Reserved, or later. That is when the Offer panel appears on the deal page.
- If the deal is earlier than that, move the stage first.
Create an offer
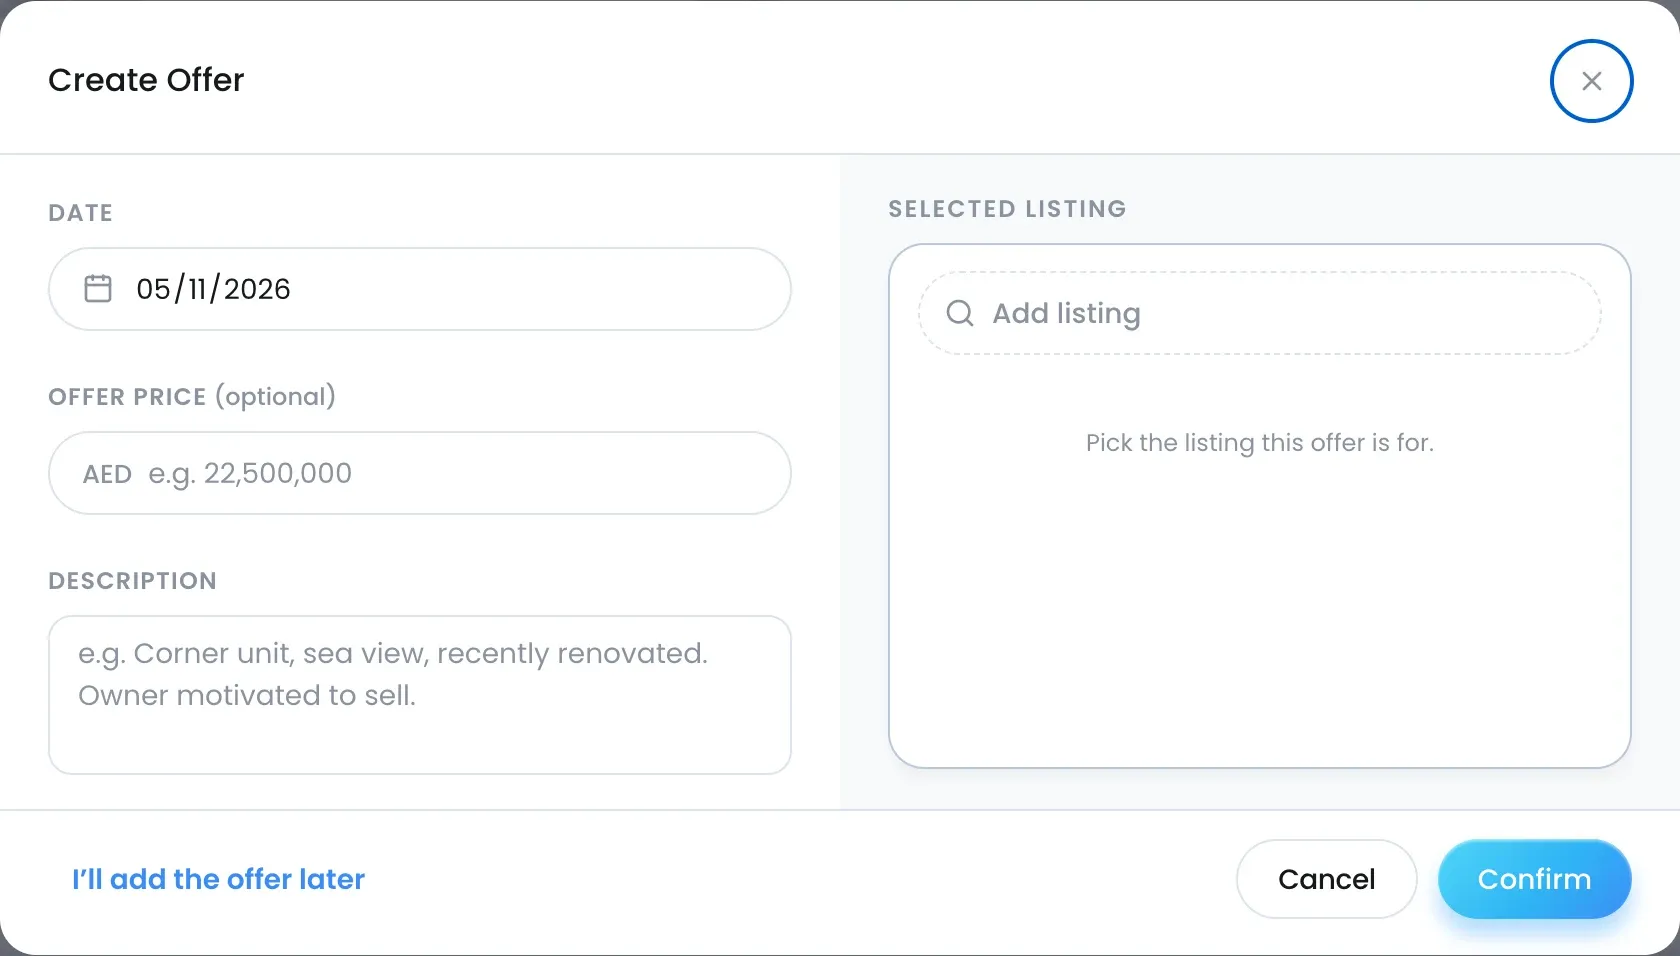
- Open the deal and find the Offer panel.
- Click Add Offer.
- Set the Date of the offer.
- Enter the Offer price.
- Add a Description, for example the client’s conditions.
- Under Selected listing, use Add listing to pick the listing the offer is for.
- Click Confirm.
The offer appears under its listing with Accept Offer and Reject Offer buttons.
Accept an offer
- In the Offer panel, find the offer row.
- Click Accept Offer.
- Confirm in the Accept Offer dialog.
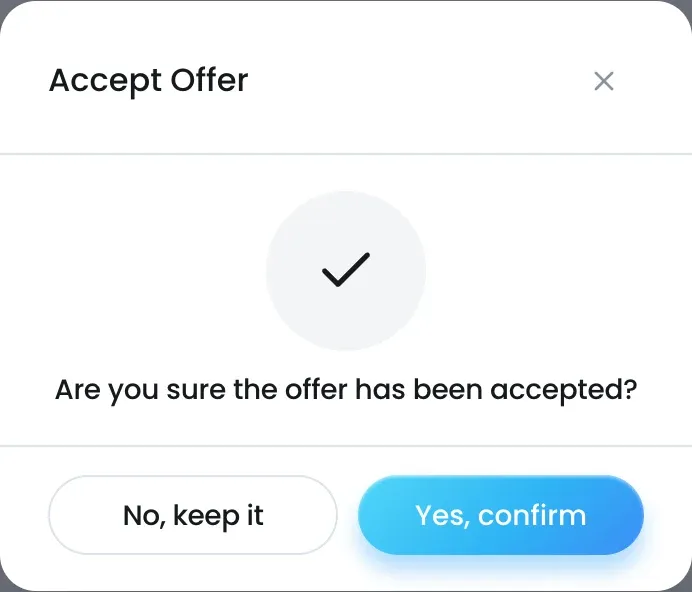
Accepting does two things:
- The row shows Accepted with the date and the commission it would earn.
- The deal moves to the next stage in the pipeline: Contract by default, or a custom stage added after Reserved. If it is already there or further on, it stays put.
Reject or counter
- To turn an offer down, click Reject Offer and confirm with Yes, decline now. The row shows Rejected with the date. The deal stays in its stage.
- There is no separate counter button. When the owner comes back with a figure, or the client raises theirs, click Add Offer again for the same listing and describe the round, for example “Owner countered; client held at this figure”. Each round sits under the listing, newest first.
- If the negotiation collapses, click Close Lost on the offer row. You will be asked for a reason.
Where it shows up
- The Offer panel keeps every offer per listing, with Prev and Next for long histories.
- The Commission Estimate card switches to the accepted price. See How the commission estimate works.
- The stage strip dates the next stage the moment the offer is accepted.